3 Basic Trapcode Particular Settings Every Motion Designer Should Know
Ah yes. Trapcode Particular. Arguably the most sought out and used 3rd party plugin in After Effects. It’s extremely powerful and can be used in a variety of ways ( as seen here), but for those of you that are just learning the basics, here is a great quick start guide to get you animating cool effects in no time.
Snow Fall
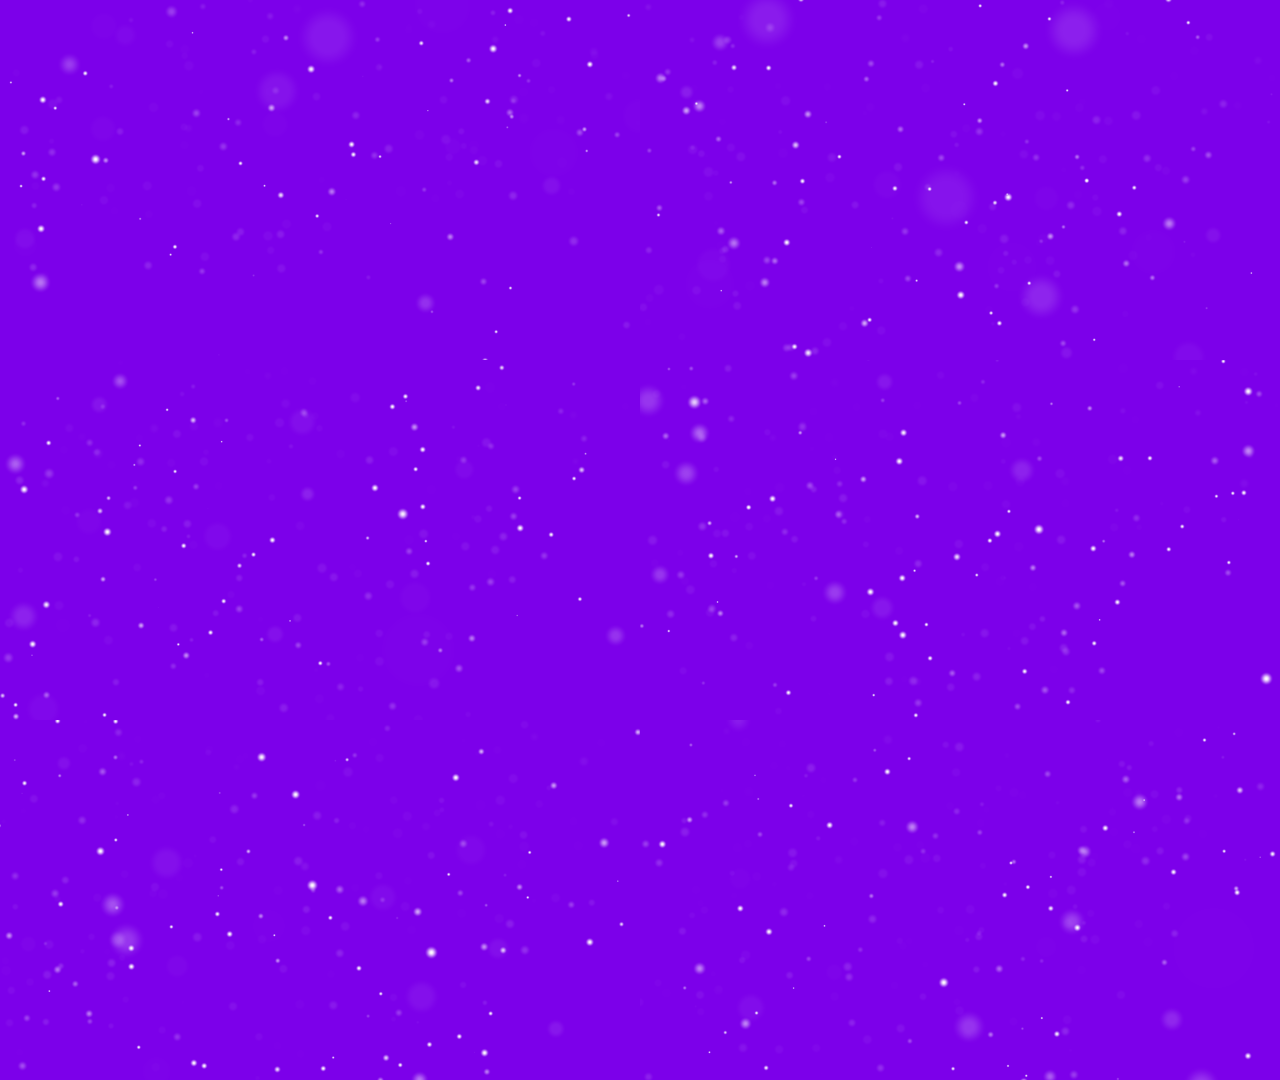
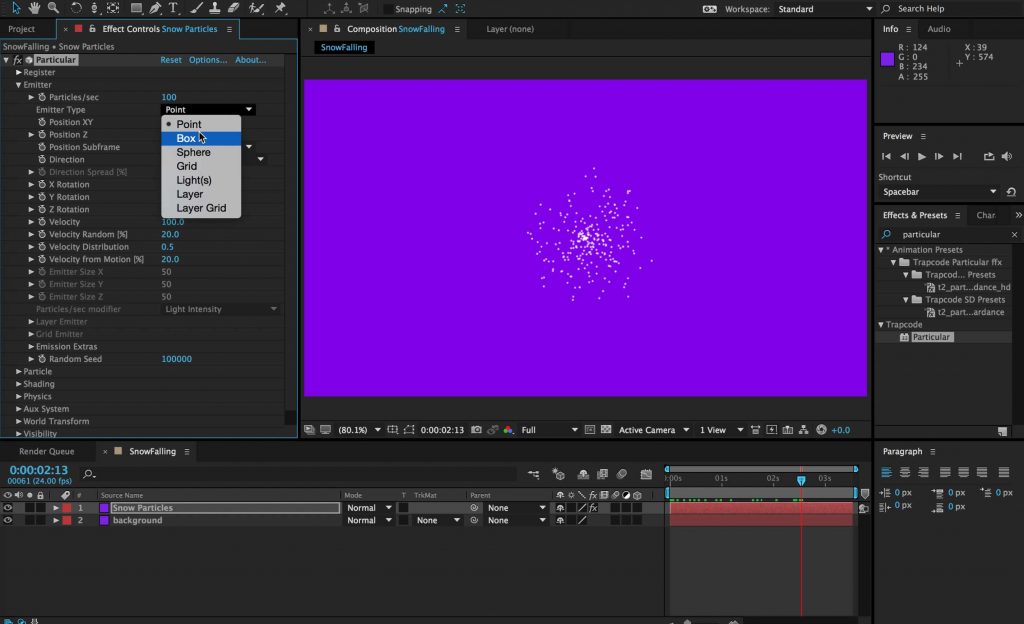
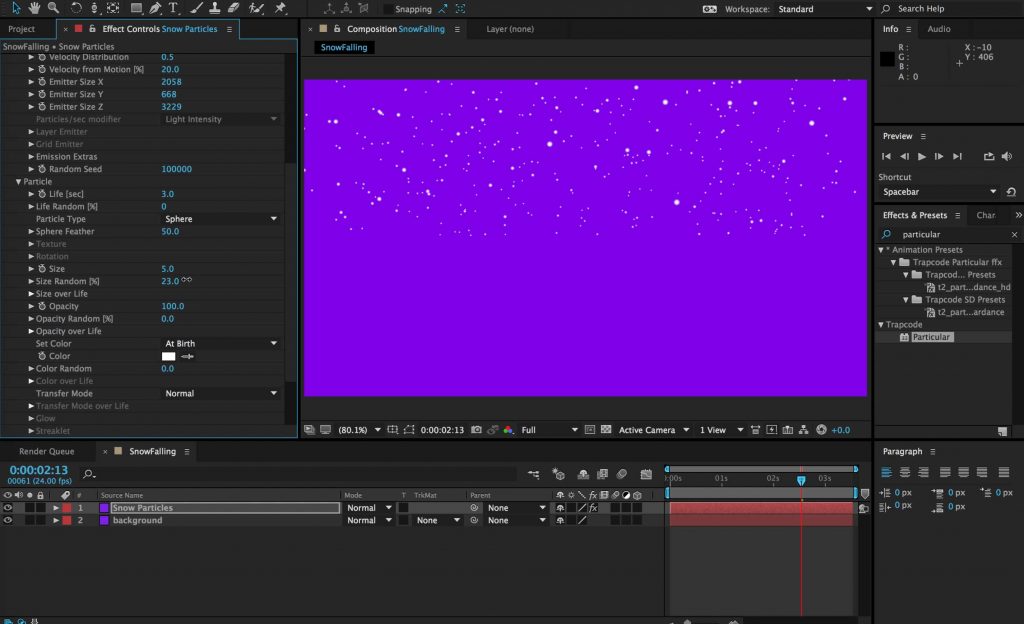
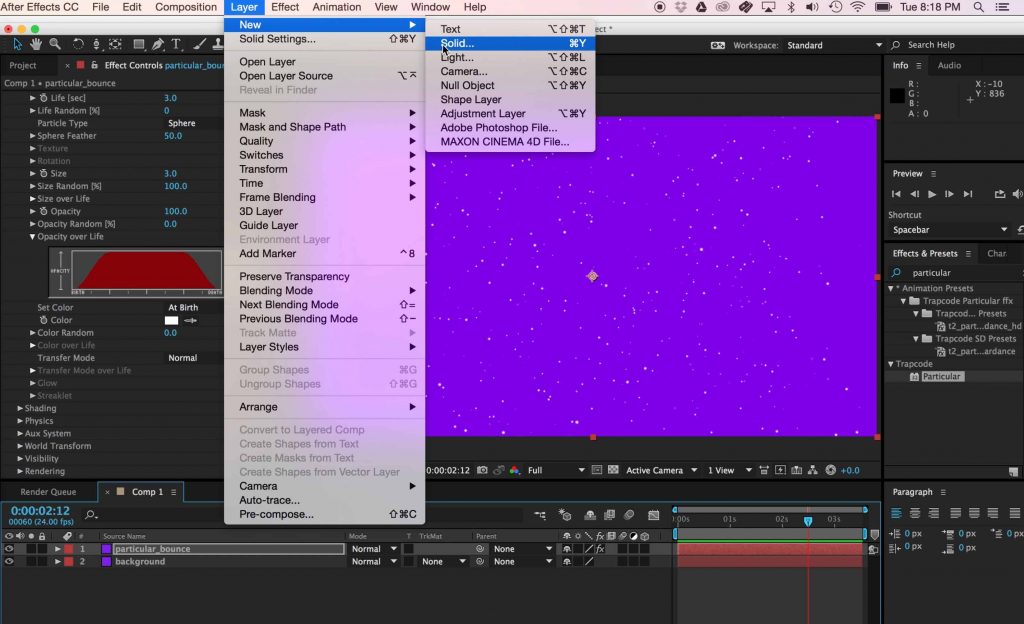
1) To create a snowfall effect, first create a new solid, and add Particular. Once you’ve added Particular, you’ll notice the particles explode from the middle by default. To adjust this, you’ll need to change the Emitter Type from Point to Box.
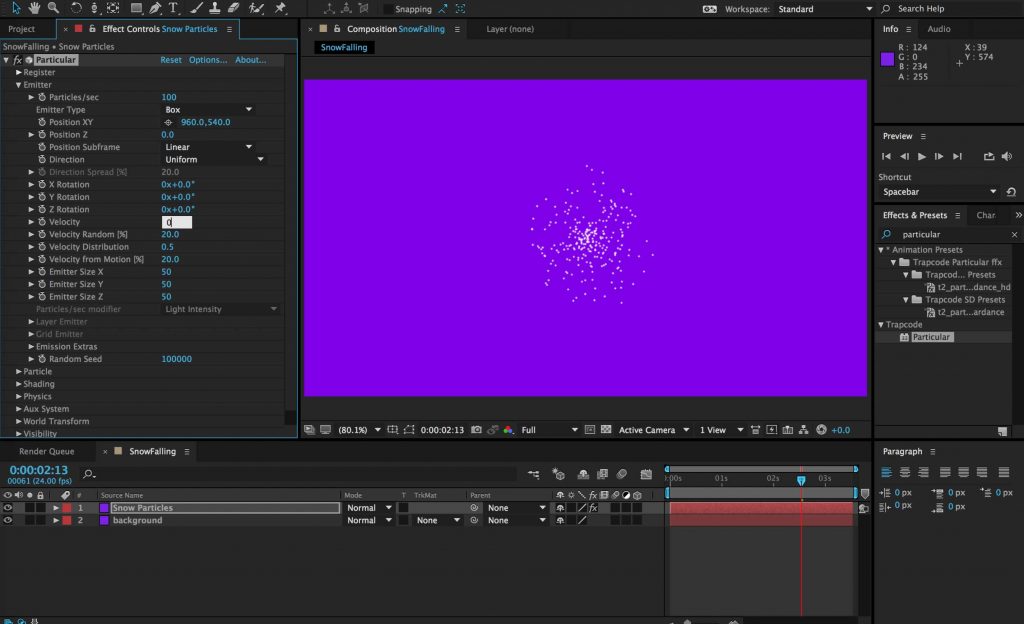
2) Next, you’ll want to change the Velocity to zero. This will turn off the movement of the particles temporarily, but will allow you to easily control the particles with Physics later.
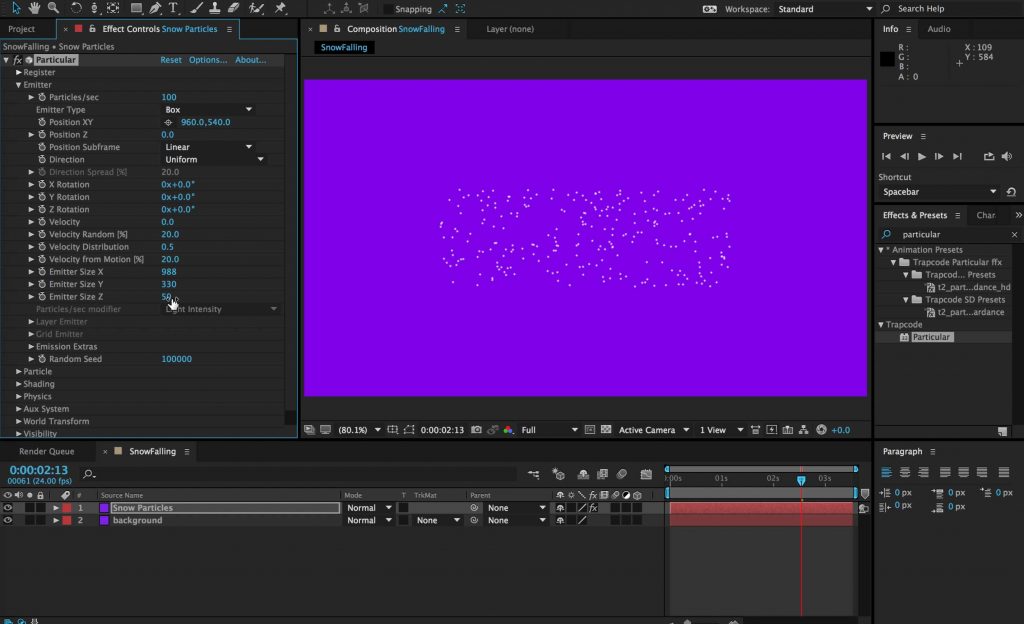
3) Since you’ve converted the Emitter Type to Box, you can now adjust the Emitter Size in X, Y, or Z to fit your composition size. Here are the values I landed on, but ideally you would want to play with these values to get a look that works for you. You may also want to move the Emitter Position up a bit so the particles can fall from the top of the frame.
X:2058 Y:668 Z:3229
4) Next, you’ll want to adjust the particle Size and turn the Size Random up to 100. This will help give the particles a more natural snow look.
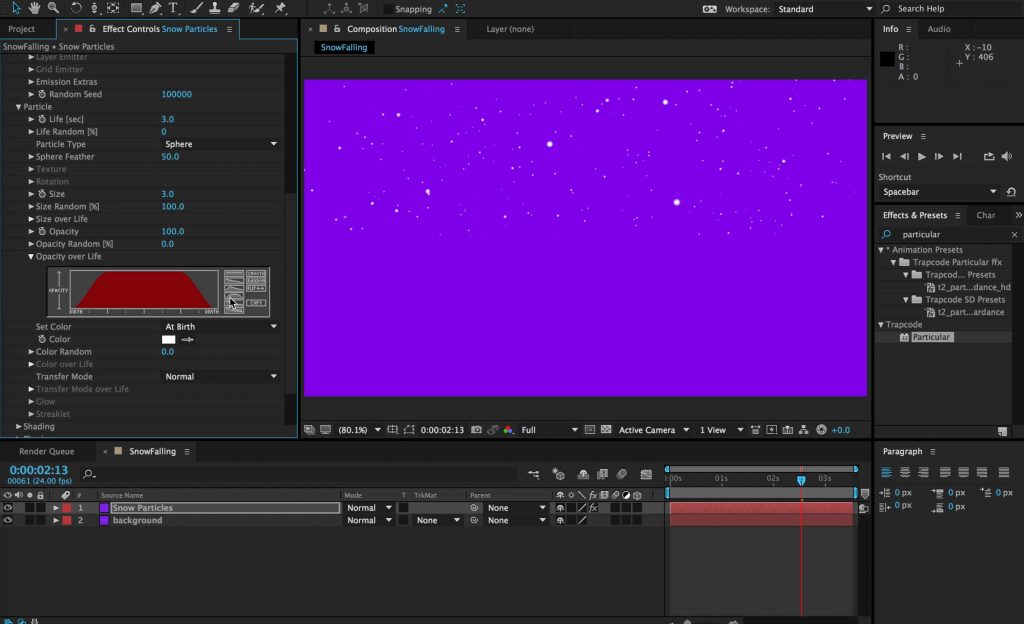
5) Another setting I adjust almost every time is the Opacity Over Life. This setting controls the opacity of the individual particles by using visual curves. I selected the hill curve, which fades particles in upon birth, and fades them out upon death.
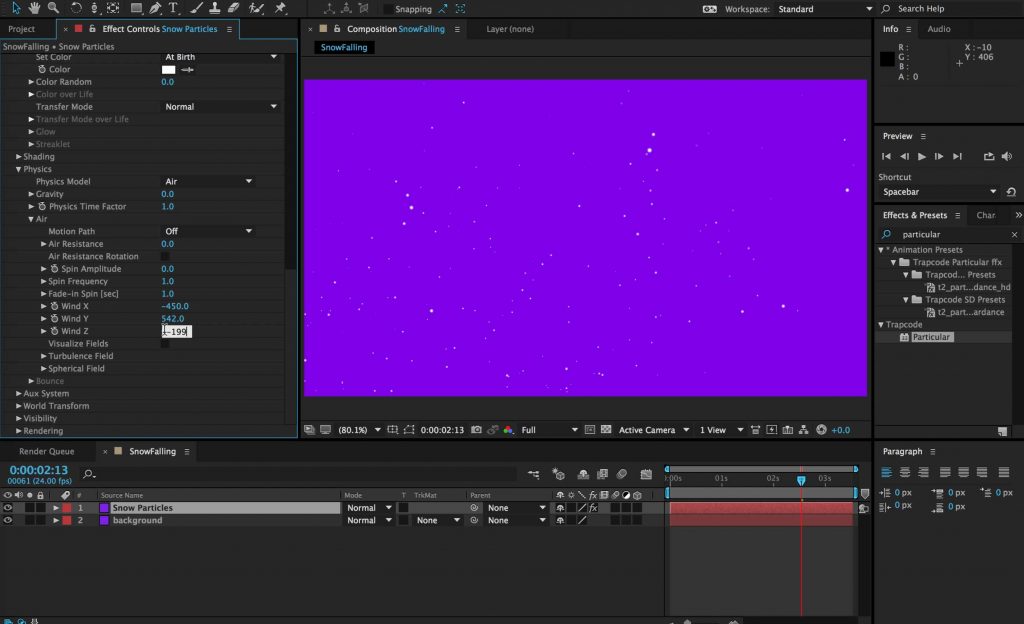
6) Now you can scroll down to the Physics and adjust the Wind in X, Y, and Z. This will give the particles some movement. Here are the values I used for the Wind:
X:-450 Y:542 Z:-199
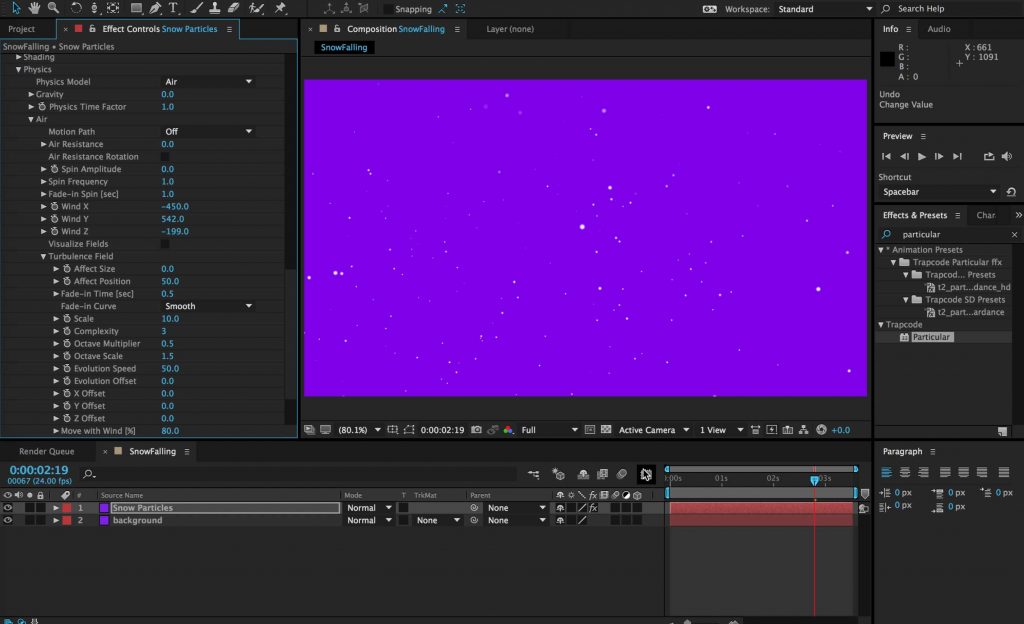
7) You’re probably already noticing that though the particles are animating, they still seem a little stiff. One way to adjust this is to add Turbulence. You can do so under Turbulence Field -> Affect Position. This will add a slight randomness to the particles as they fall.
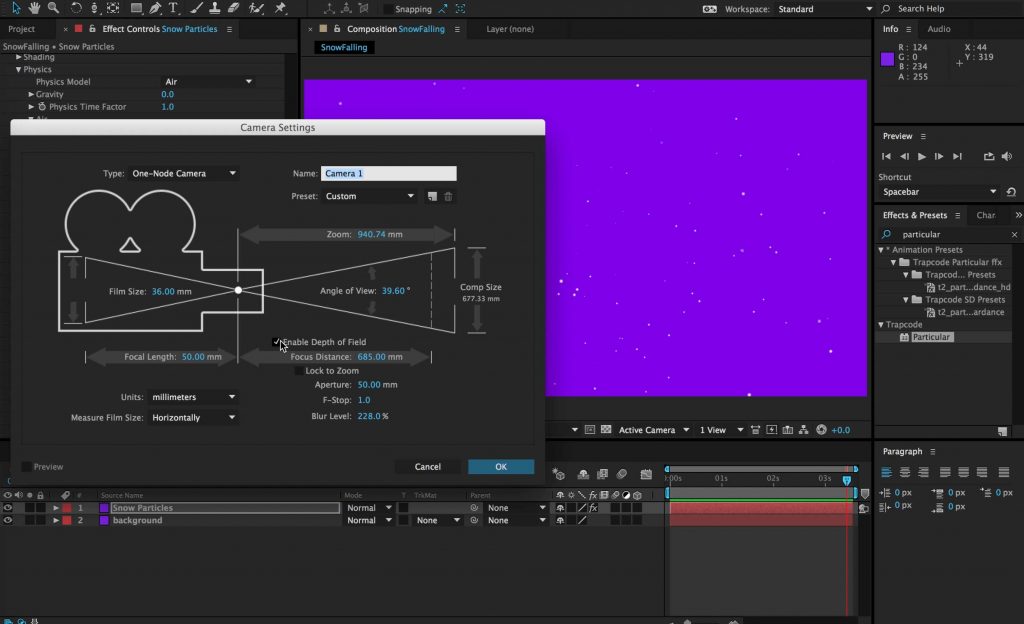
8) Lastly, you will need to add a camera to create the Bokeh Effect. Go to Layer –> New –> Camera, and Enable Depth of Field. You can use the settings below, but like before, it’s really up to you.
Article continued below the break
Light Zoom
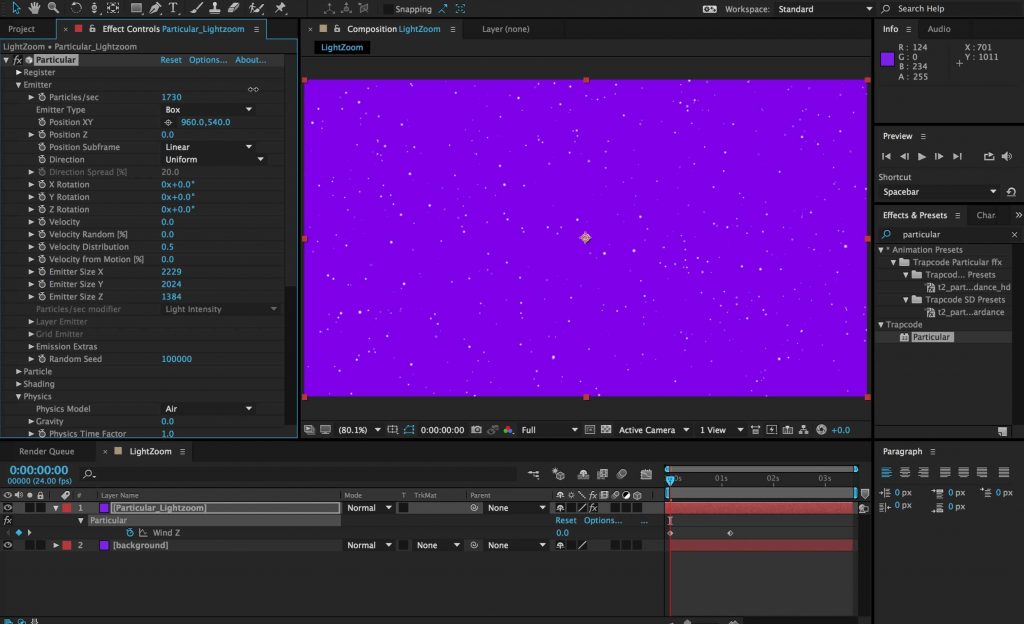
1) The light zoom effect can be created pretty easily as well, using a lot of the same settings. Ending at Step 5 from above, you will need to animate the Wind but only on the Z axis. For this example, I set two keyframes about a second apart, the first at 0 and the last at -10000.
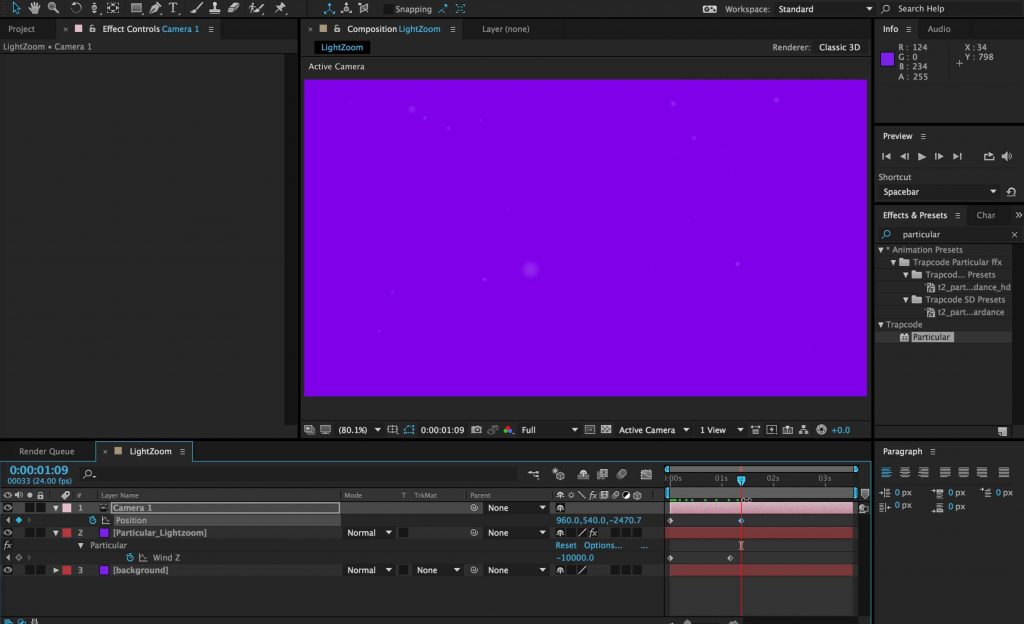
2) Next, I added a camera with a Preset of 50mm. We will be using this camera to zoom into our particles.
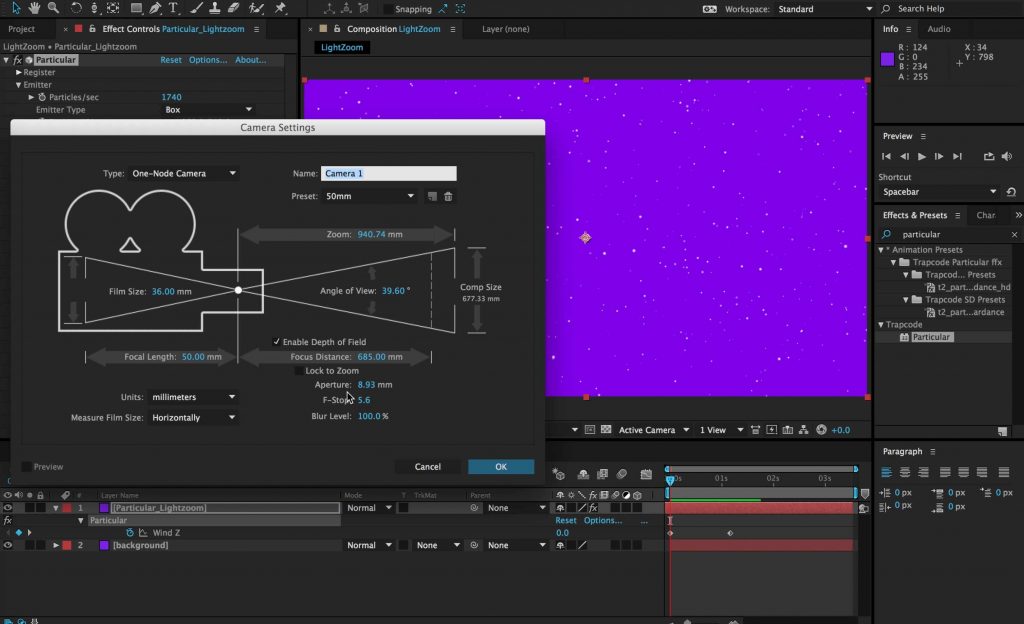 3) Once the camera is added, you can then set some keyframes for the camera’s Position in Z space. I set a keyframe from the default camera position (960, 540,0) to ( 940, 560, -2470) changing only the z position.
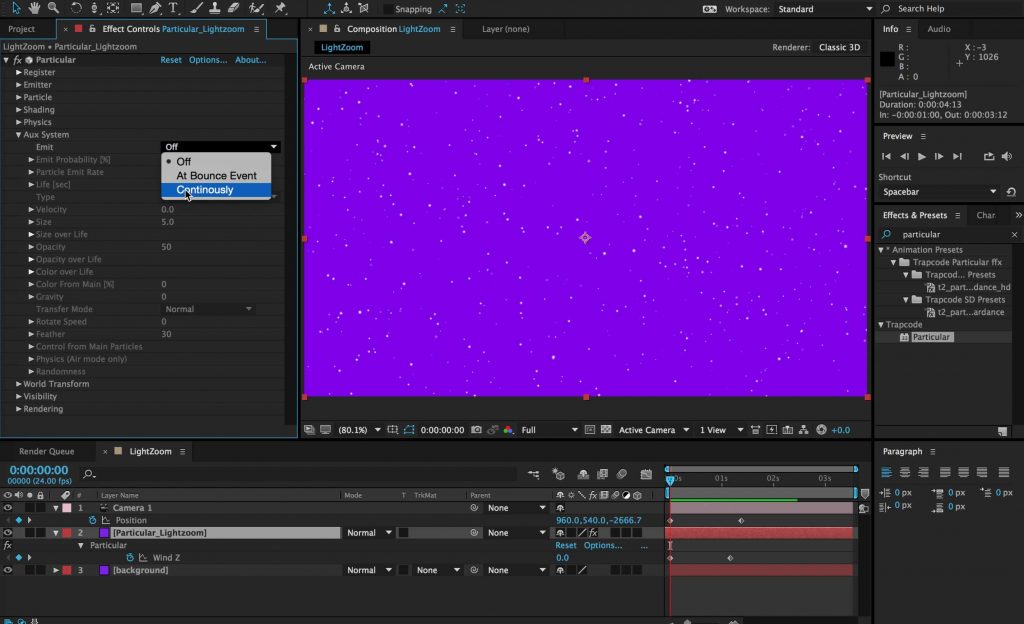
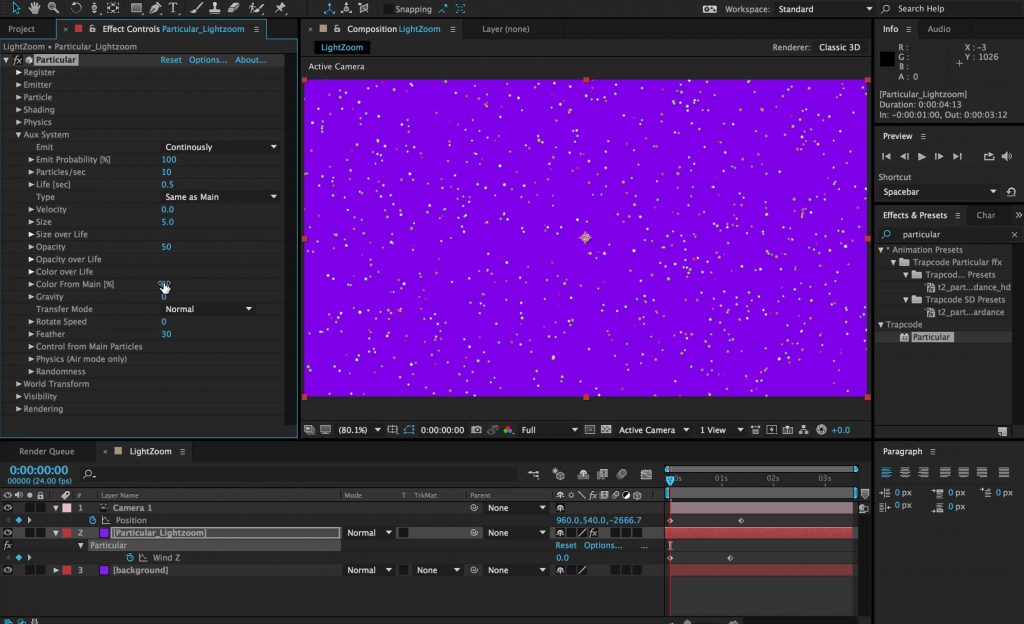
4) Now we can focus on the streaks. Under Aux System, change the Emit property to Continuously.
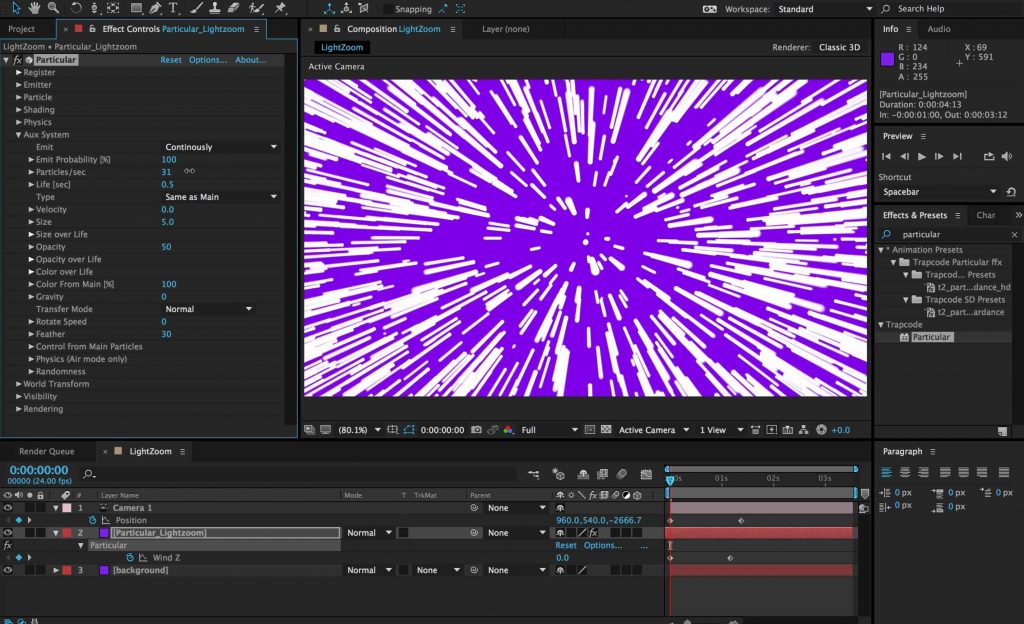
5) Particular now will emit additional particles from the original particles that you’ve created. By default, the addition particles it creates are different colors. To change this, turn the Color From Main property to 100%.
6) Now you can turn up the Particles/sec to your liking. The more particles you add, the smoother and straighter the lines will be.
Bonus: How To Create A Light Speed Warp Effect
Article continued below the break
Bounce
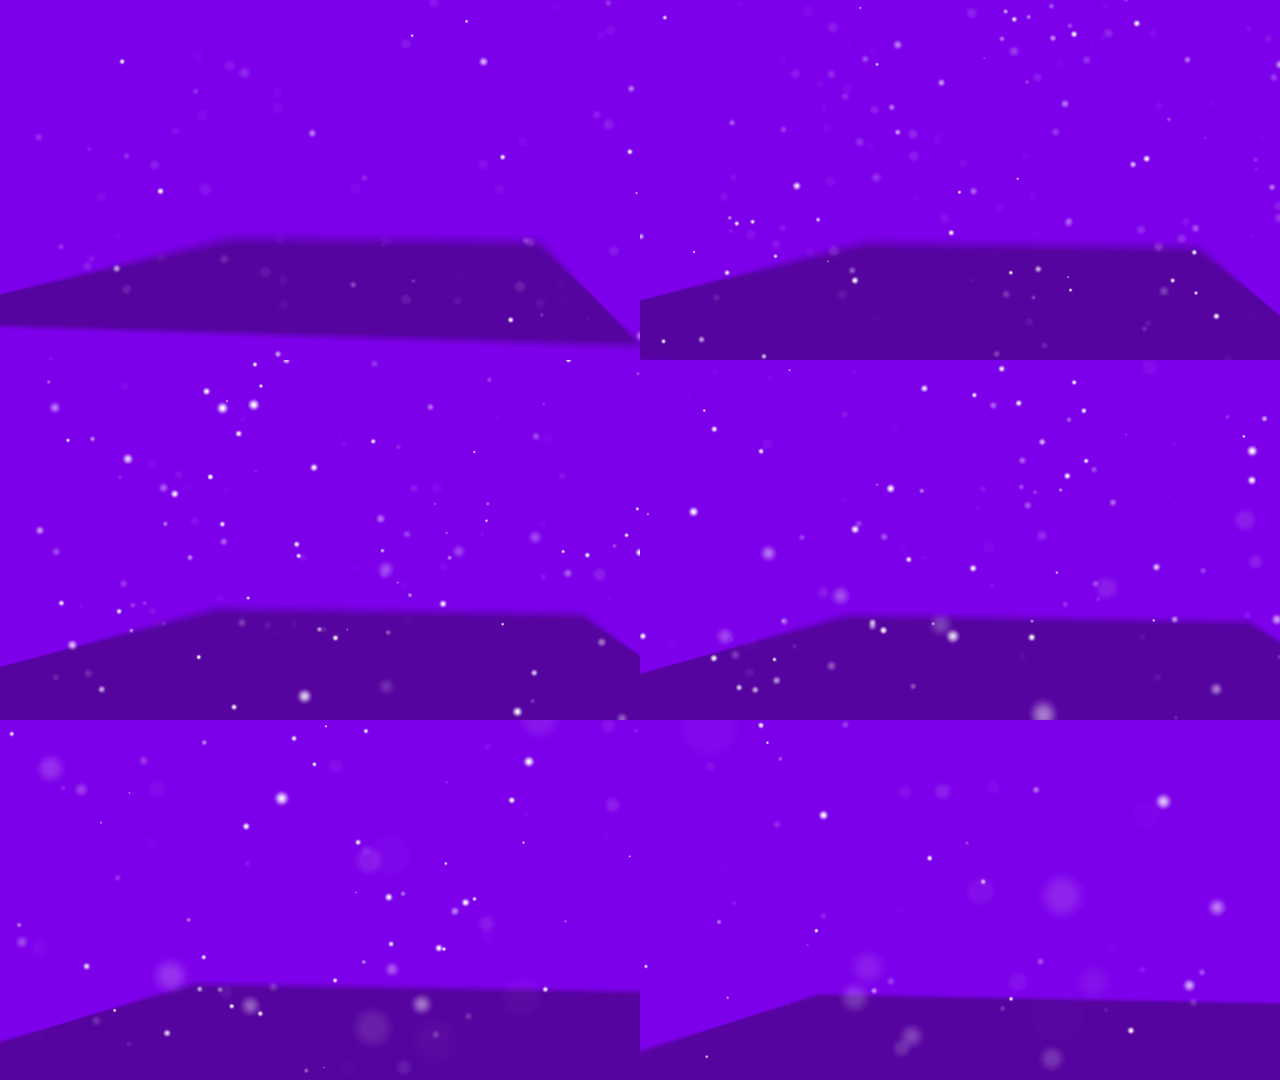
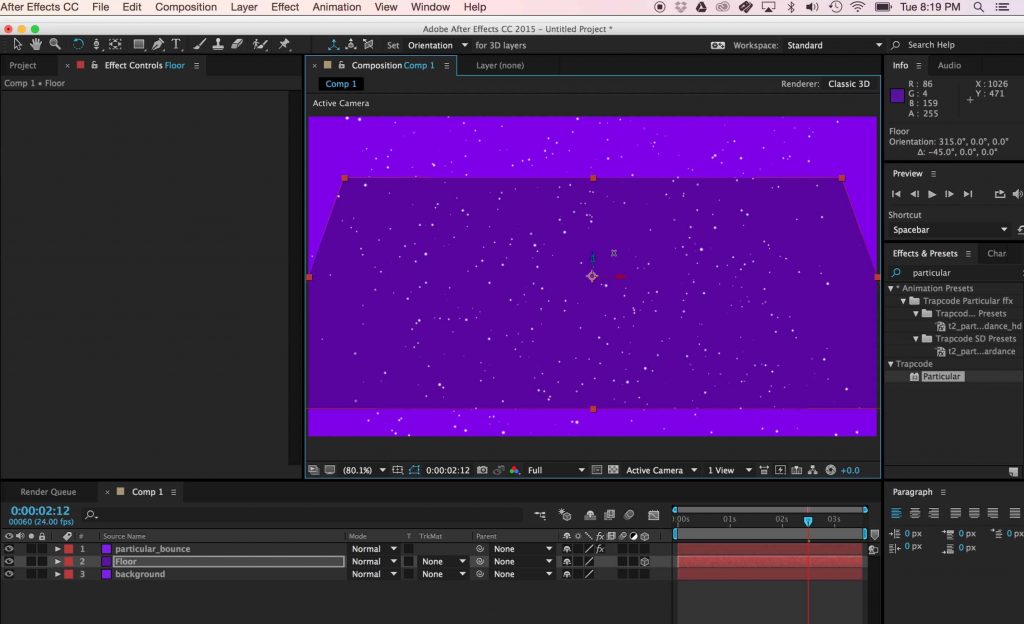
1) Taking the settings from Step 5 above, create a new solid and title it “Floor”. This will be what the particles bounce off of.
2) Convert the “Floor” into a 3D layer, and rotate it to the bottom of the frame.
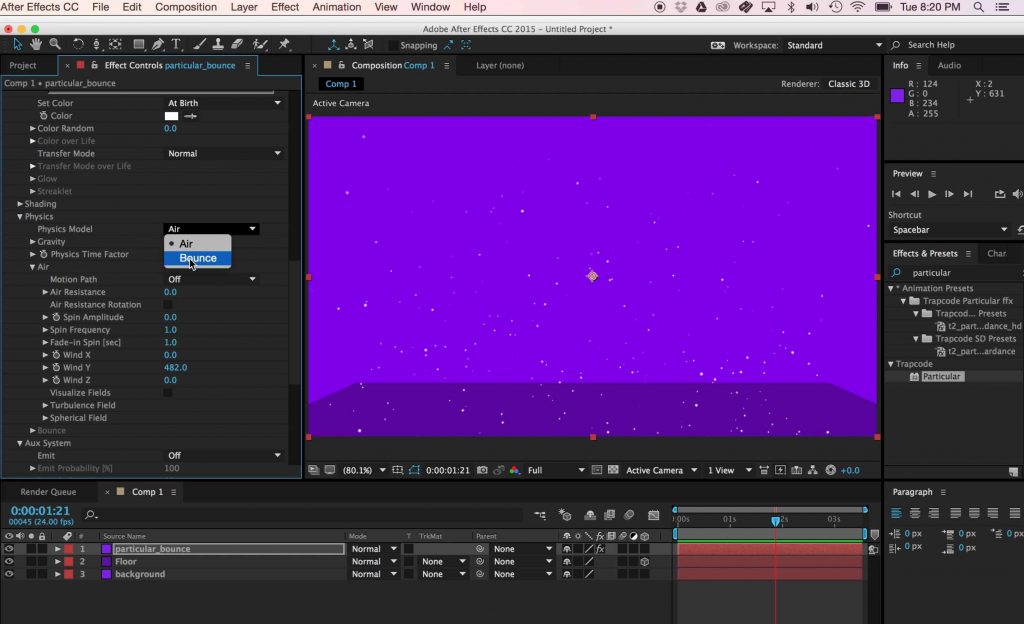
3) Under Physics, Physics Model, select Bounce, and turn up the gravity to 310.
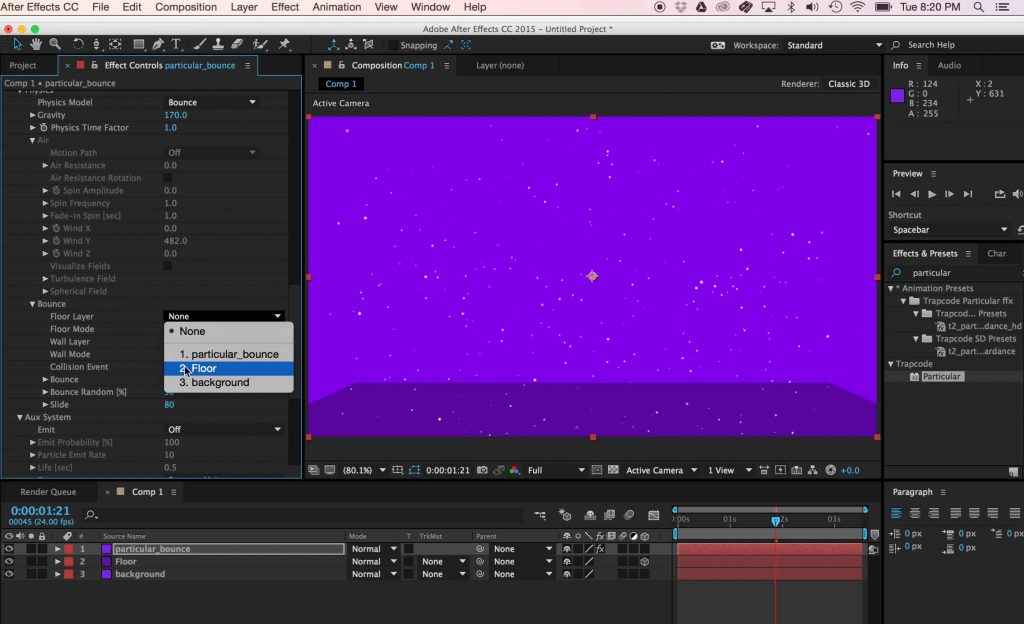
4) Under Bounce, select the Floor layer we created earlier. The particles will then bounce off of the floor layer.
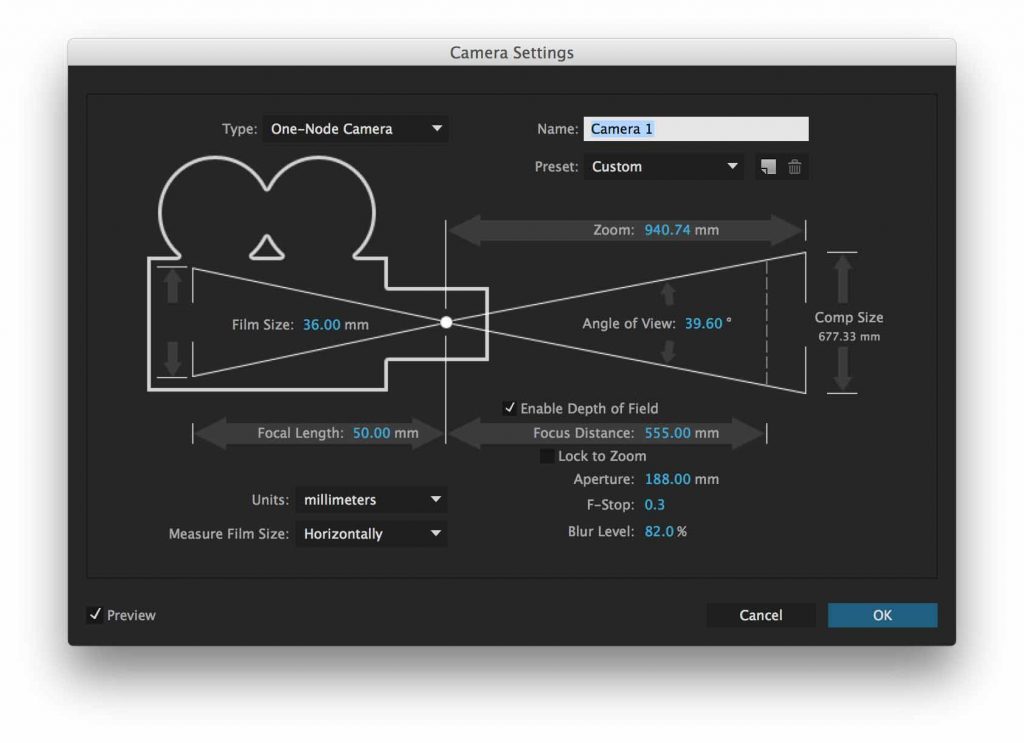
5) Lastly, you can use a camera to create some depth of field. Here are the settings for the camera used in the bounce example above:
Bonus: How To Create Custom Particles With Particular
Thank you so much for reading. Hopefully, you found this helpful. If you have any questions or suggestions, or would even like the project files for these (I can post for download based on demand), please let me know in the comments. If you’d like to learn more about me, check out my portfolio.

